Maestro 3D Ortho Studio - User Manual
Introduction to the use of Maestro 3D Ortho Studio software
This document is intended to introduce the user, in a simple and quick way, to the use of the Ortho Studio software. Please read this manual carefully before making use of the Ortho Studio software.
Introduction
Maestro 3D Ortho Studio is a very powerful and easy to use software for orthodontics. The principal features available are:
- Patient, Surgery And Doctor info handling using AGE DB.
- Choice of local origo of mandibular and maxillary arcs.
- Virtual base creation / modification and stitching to mandibular and maxillary arcs.
- Virtual Setup.
- Occlusion inspection between mandibular and maxillary models.
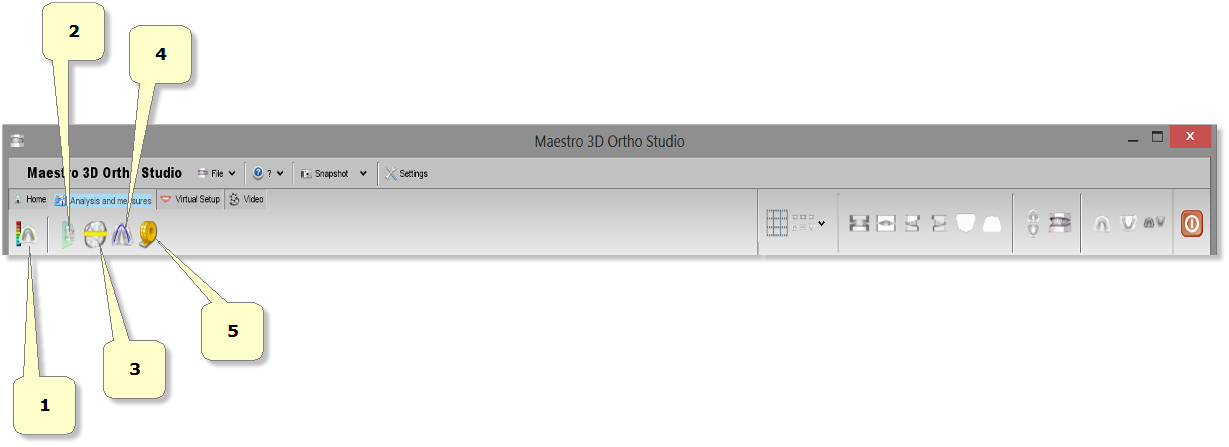
- Analysis of distance, measures and sections.
Software Installation
To install the Maestro 3D Ortho Studio software, double click with left mouse button on the file: Maestro.3D.Ortho.Studio.vx.xx.xxx.Setup.exe which is in the CD\DVD.
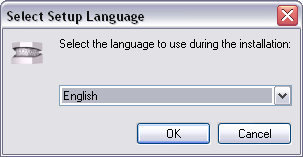
Step 1: Select the installation language.
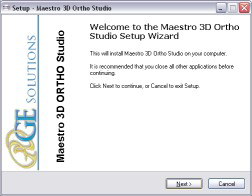
Step 2: A welcome installation window of Maestro 3D Ortho Studio appears. Press Next to
continue.
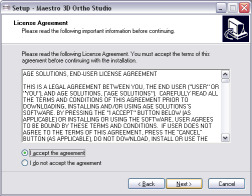
Step 3: Please read the license agreement carefully, accept it as shown in the red circle
and press Next to continue.
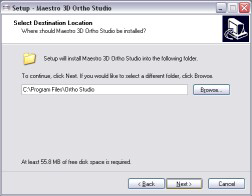
Step 4: Select the destination folder. (We recommend to use the default folder). Press Next to continue.
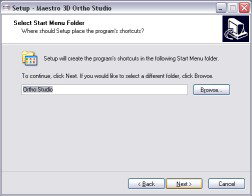
Step 5: Select the menu start folder. (We recommend to use the default folder). Press Next to continue.
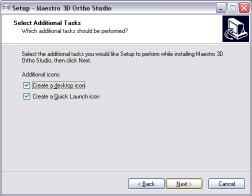
Step 6: Select, if desidered, a program icon on the desktop and into the quick launch bar. Press Next to continue.
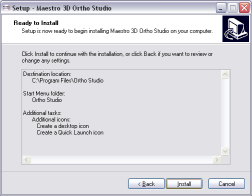
Step 7: At this point a summary of installation information appears. Press Install to install the software.
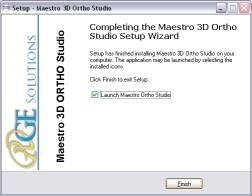
A progress bar shows the progress of the installation process. Step 8: Installation complete. Press Finish to complete the installation.
| Use Windows 7 - 64 bit.
Install all Windows update available. Install the last graphics card available from NVIDIA web site http://www.nvidia.com. Set the slider of UAC (user account control) to put it to a minimum. Right mouse click over software icon and Properties -> Advanced -> (check) Run As Administrator. |
User Interface
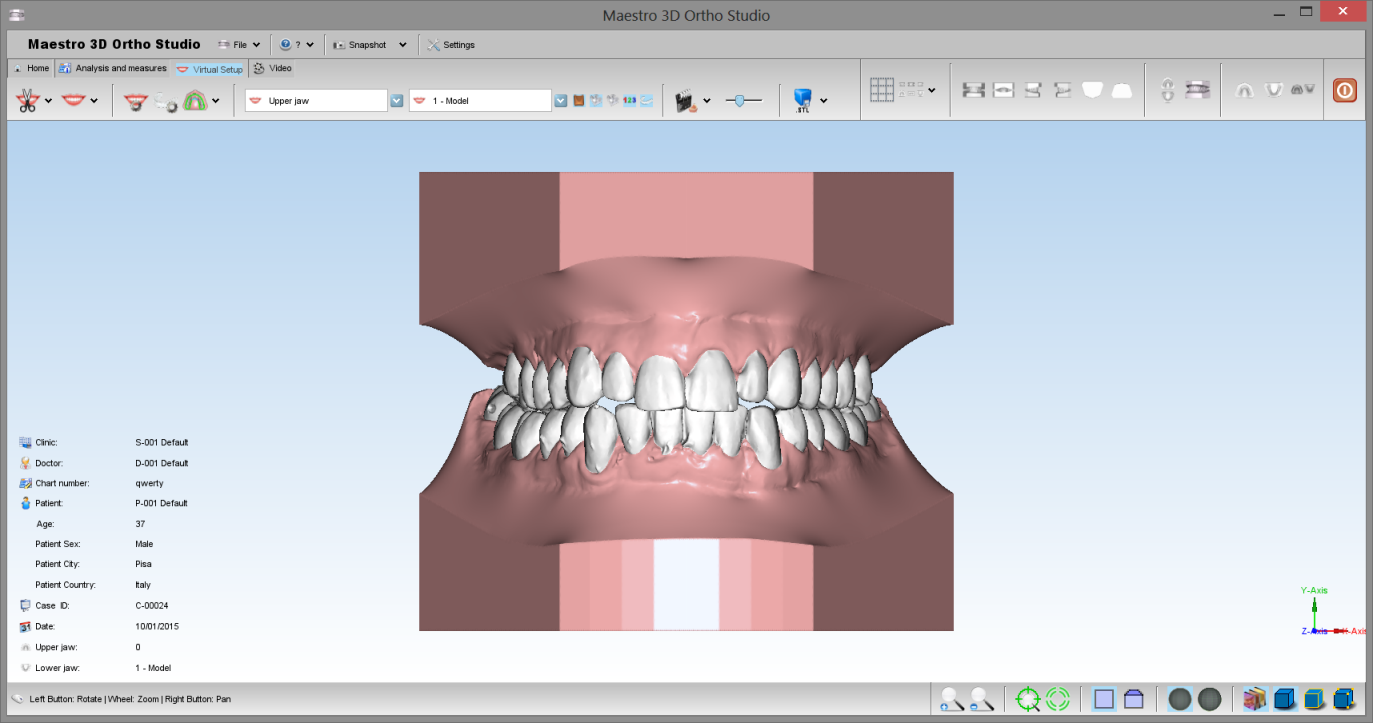
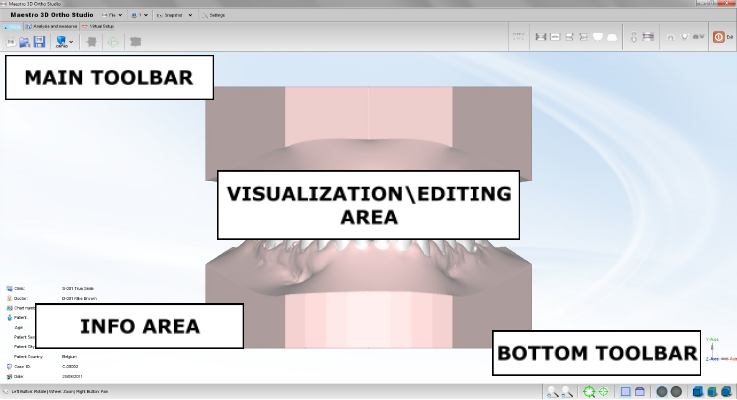
The figure below shows the composition of the user interface.
Main Toolbar
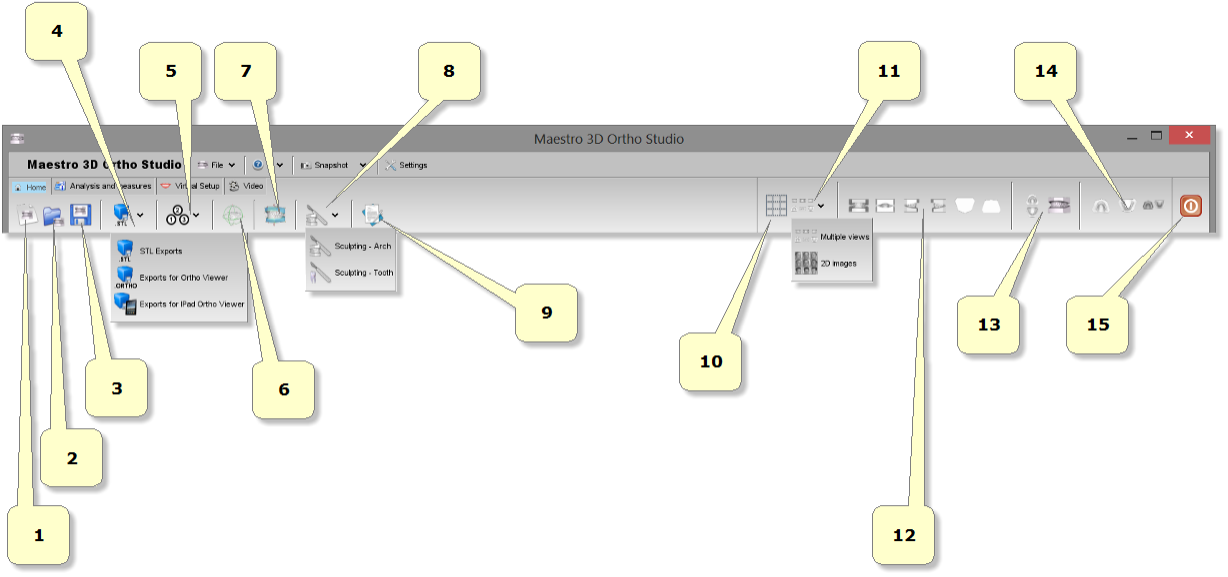
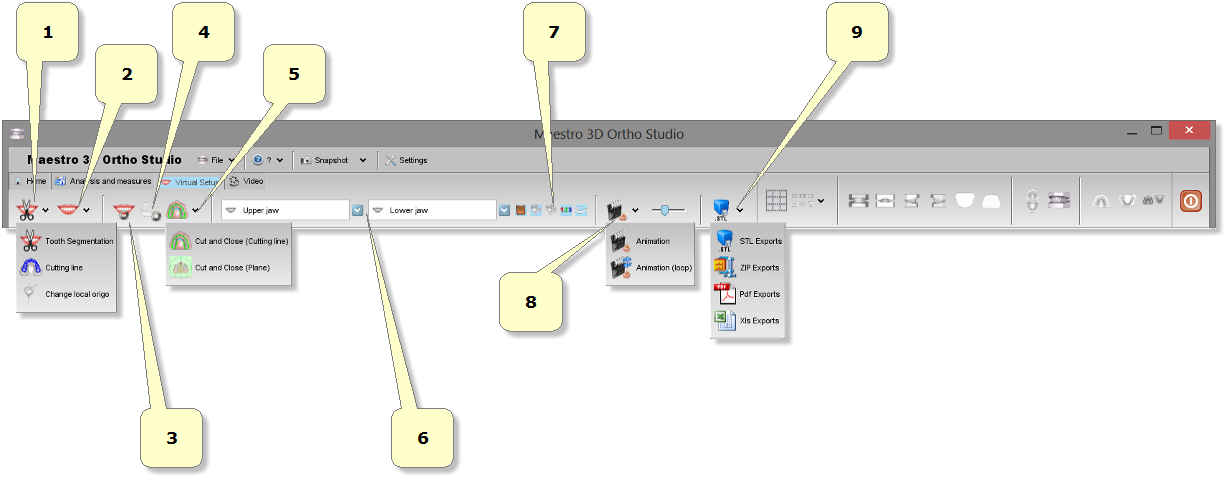
The main toolbar allows to access to all the functionalities of the Ortho Studio Software.
Bottom Toolbar
The bottom toolbar is the area of the screen containing a progress bar that is displayed and updated during each computation of the program and the controls for changing the visual settings of the visualization / editing area.
Visualization / Editing Area and Info Area
The visualization / editing area is the area of the window in which the models are visualized and all the editing operations are performed.
In the visualization area it is possible to create virtual bases, show the occlusion inspection between maxillary and mandibular arcs, measure distance between teeth and to perform virtual setup.
In order to examine the models displayed in the visualization / editing area camera parameters (position, scale and rotation) can be setted using an instrument called trackball.
The trackball is very simple to use. Just use the Left mouse button dragging to rotate around the model, the mouse wheel to Zoom in / Zoom out and the Right mouse dragging to move (pan) the camera.
The info area of the screen shows the info related to the current Case. In particular the info about Surgery, Doctor and Patient are displayed, also with the Case ID.
Create a New Case and Open an Existing Case
Create a New Case
To create a new case press the ![]() New Case button located in the main toolbar.
The process of creating a new case consists in the following steps:
New Case button located in the main toolbar.
The process of creating a new case consists in the following steps:
- specify the Surgery data (optional)
- specify the Doctor data (optional)
- specify the Patient data (optional)
- specify the relationship between Surgery, Doctor and Patient (optional)
- choose maxillary and mandibular models (required)
To create a new Surgery press the ![]() Add new surgery button, located in the left side of
the screen. After filling the fields of the form that appears in the main side of the screen specifying the
data of the Surgery, press the
Add new surgery button, located in the left side of
the screen. After filling the fields of the form that appears in the main side of the screen specifying the
data of the Surgery, press the ![]() Insert button to add the new Surgery to the database
or the
Insert button to add the new Surgery to the database
or the ![]() Clear button to clear the fields of the form.
Clear button to clear the fields of the form.
